Archives For How To

There is an endless number of items, toys, games, and therapy equipment I would love to have, but like most people, space, money, and time are always a barrier.  I use to use a sensory tunnel during treatments when I worked in the clinic setting and it was a favorite of many of the kiddos I worked with.  I was inspired last week by one family I work with to copy their stretchy sensory tunnel and make my own.

20140413_183436

A sensory tunnel can be used as a “heavy work” activity to help our proprioceptive input.  Proprioception is knowing where our body is in space.  Our muscles, joints, tendons, and connective tissue sends signals to our brain telling us where our body is in relation to other objects or people.  Since the sensory tunnel lays tight around the kiddo’s body as they crawl through, it provides a lot of proprioceptive input, as well as tactile input.

A sensory tunnel is made of stretchy material like Spandex or Lycra.  I found some Spandex material at our local JoAnn Fabric.  I have heard of others finding stretchy material on the clearance rack for as low as $1.oo per yard!  {I was not so lucky, but was able to use a 40% off coupon}.  I was told by a lady at a fabric store that polyester thread would be the most durable thread to use.  I also found some elastic thread, but we did not end up using it.   I do not have a sewing machine, so I went to my amazing mother’s house and she helped me make the tunnel. Here are the steps to making your own sensory tunnel:

  1. Buy 3-4 yards of stretchy material (such as Spandex)
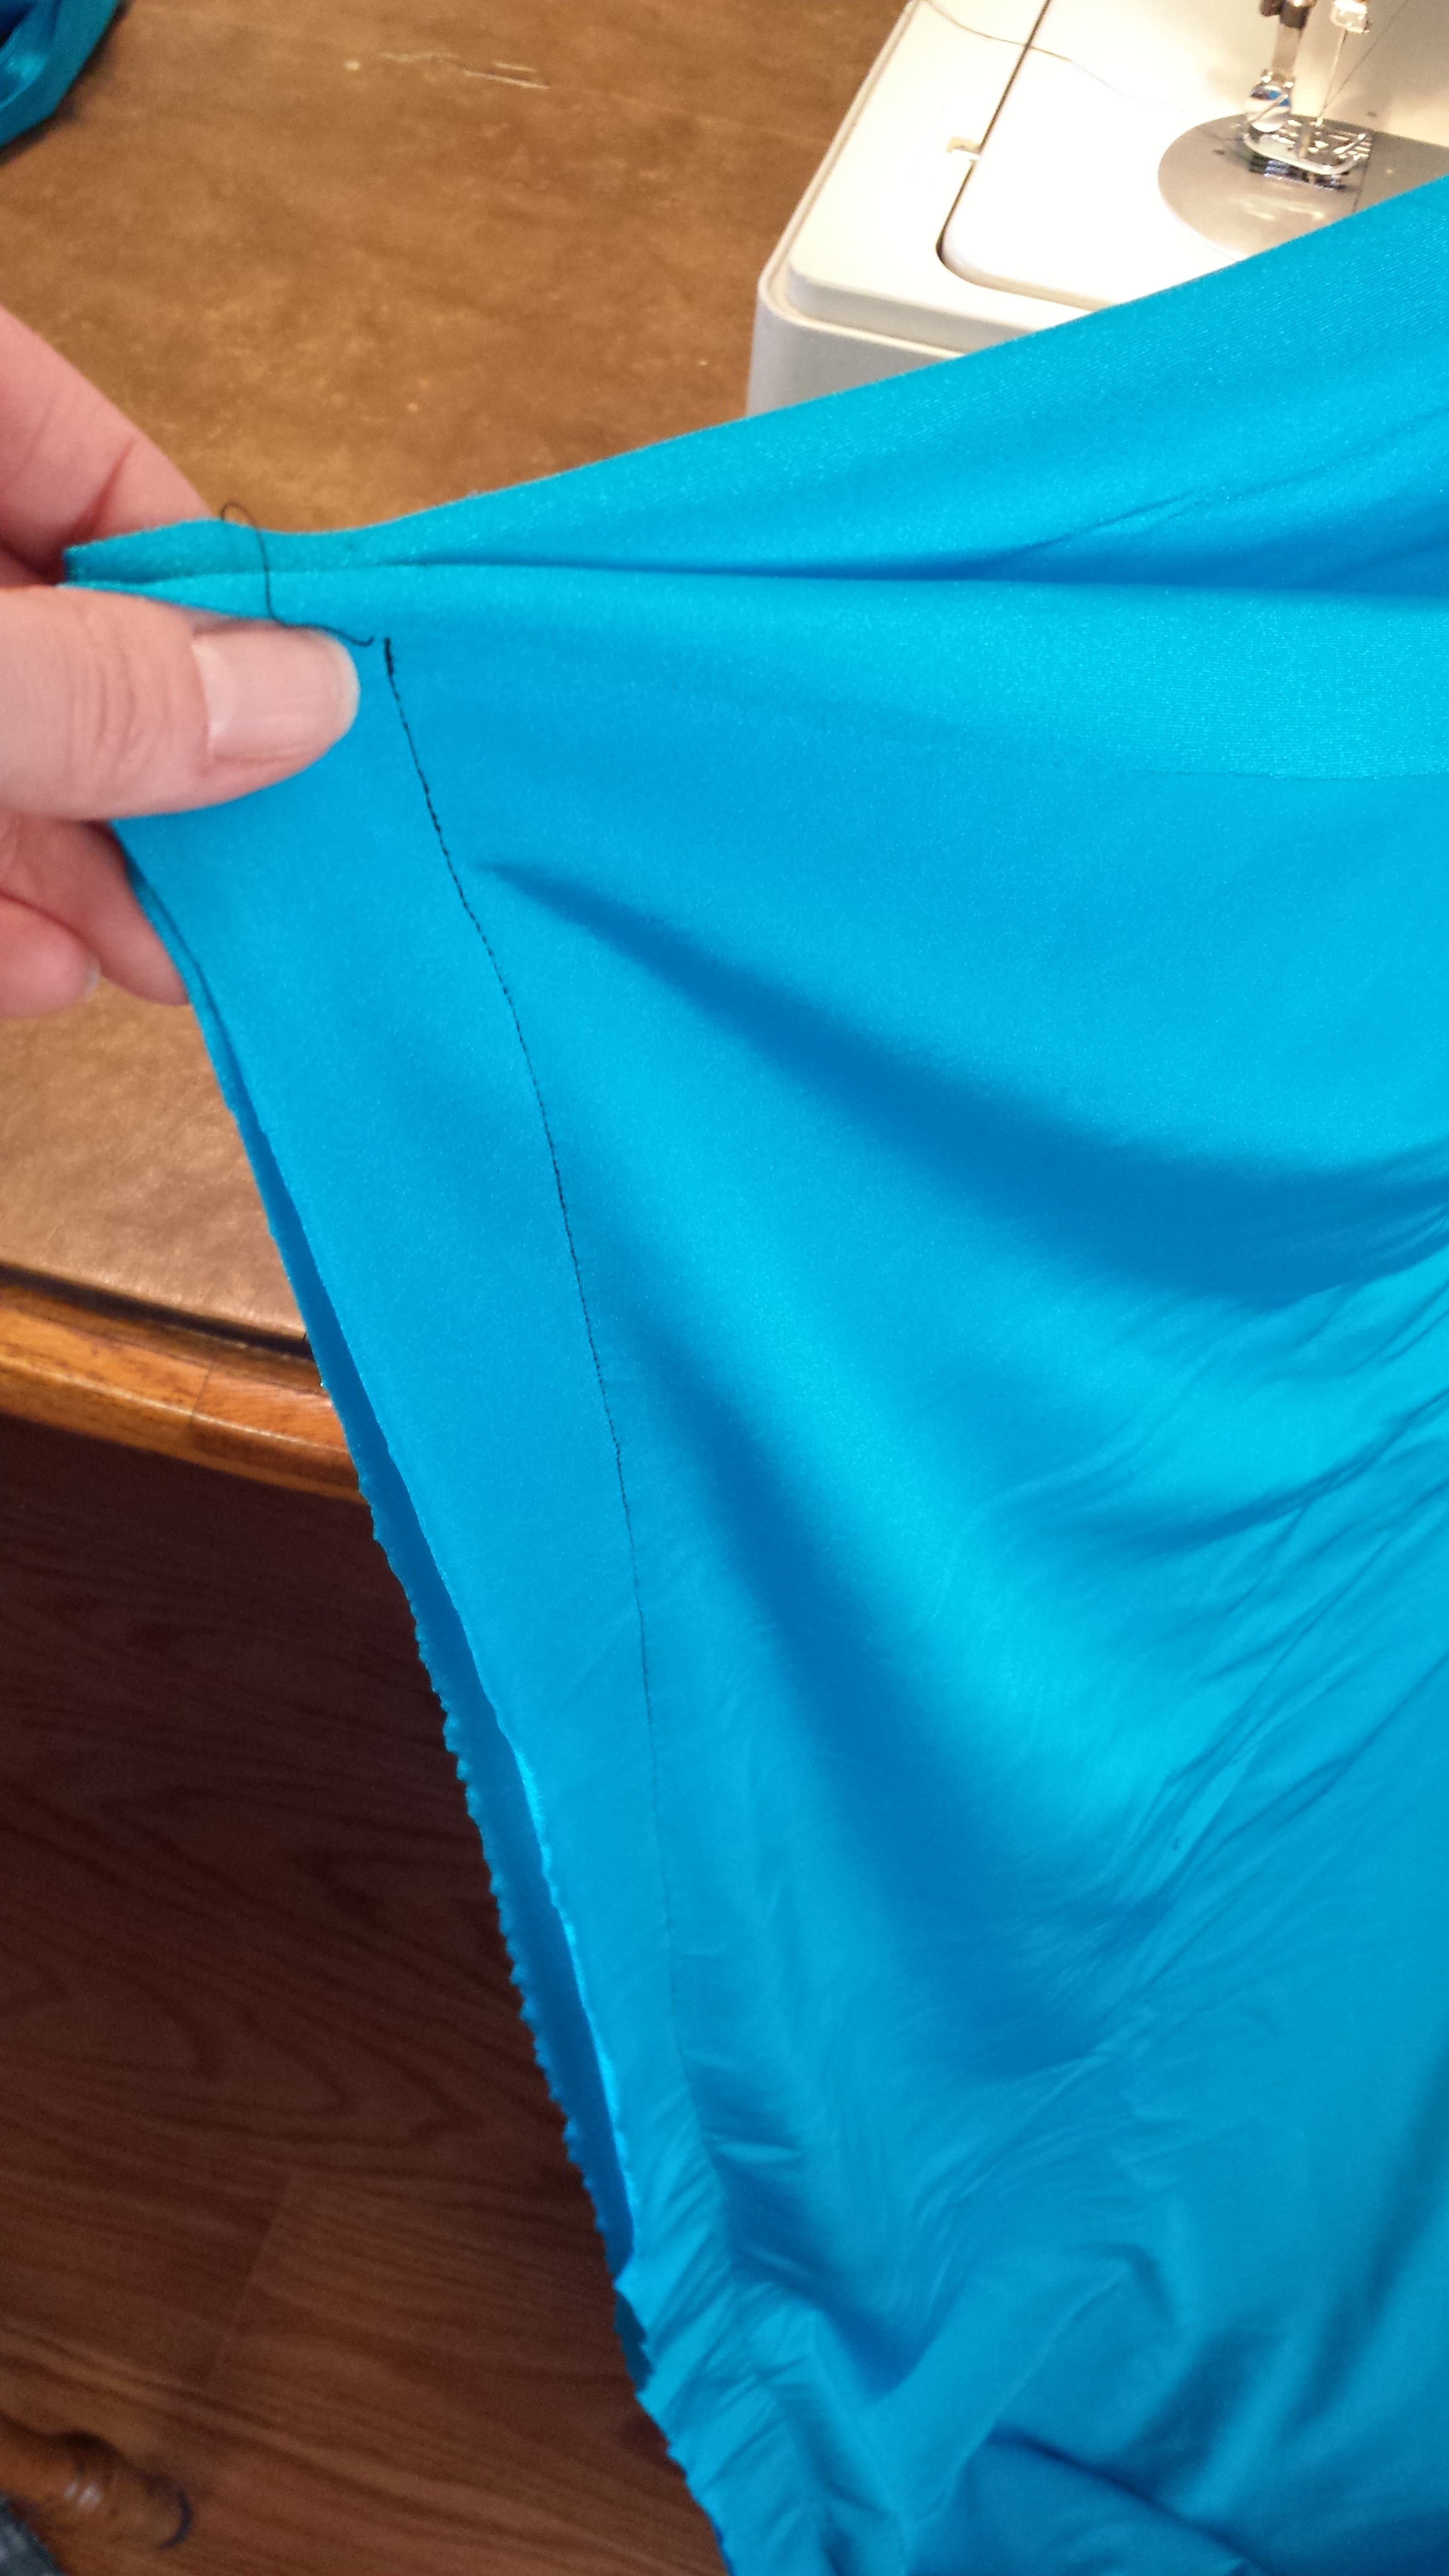
  2. Fold your fabric in half long ways with the material inside out
  3. You may pin the fabric together, but we found that we were able to pin just the first 6 inches or so and then held it together with our hands and the foot on the sewing machine
  4. Determine how big you want the opening of your tunnel and sew length-wise down the entire length of fabric (I recommend approximately 20-30 inches in diameter – mine pictured is approx.. 25 inches)
  5. Trim any excess fabric
  6. Turn right side out
  7. Ta-Da! Tunnel complete!

DIY Sensory Tunnel  DIY Sensory Tunnel

We did not hem the ends of the fabric since we used Spandex which so far, doesn’t seem to fray.  Other material may need a hem.

To use your tunnel, hold one end of the tunnel open to help your child crawl through to the other end.  If your child is a little nervous to go inside, you may have a second person hold the other end so that they can see all the way through.  You could hide toys or stuffed animals inside for them to find or have them push a therapy ball through the tunnel for even more resistance.  Frequently, I have kids crawl through to retrieve puzzle pieces and put a puzzle together on the other side.

What other activities could you use for your tunnel?  Have you seen any good deals on fabric?  Let me know how your tunnel making experience goes!  


The purpose of this blog is to provide resources for parents who want to carry over therapy activities with their child at home.  The information provided here does not replace therapy or medical care provided by a qualified therapist or medical professional.    These activities are safe for most children.  However, some activities or materials may be inadvisable for children who have certain allergies or medical conditions.  It is recommended that you consult your child’s medical provider or therapist before engaging in the activities you have selected.  

I had a close friend of mine (who is a PT also, primarily works with adults) contact me the other day asking, “Tricia, how do convince a 10-year-old to do exercises?” Now there’s a question! Kids can be very motivated . . . for what they want to do, not necessarily what any adult wants them to do. The said adult could be their parent, grandparent, therapist, teacher, babysitter, etc.

Jenga

I have learned a couple tricks to get the results I need out of children. These ideas are of course age-sensitive, as well as maturity-sensitive.

If the child is a teenager, or at least wants to be older, I always try to pull the athlete talk. I ask them what sports they are interested in. Once they have told me their sport of interest, I tell them that in order to be the best athlete they can be, it is mandatory to exercise to create a strong core, desired flexibility, hand-eye coordination, etc. I tell them that all athletes, whether high school, college or professional, exercise and train regularly. I’ve had several kids, that as long as I remind them of this every now and then, it keeps them fairly motivated.

Of course, the sport talk sometimes only goes so far. I frequently incorporate an obstacle course or game into my exercises. Games with pieces, such as Jenga, Connect 4, Checkers, etc. work great to have your child use stairs, or a stepper (on a stepper, you could do forward steps, backward steps, or side steps), walk along a balance beam (a 2×4 board works good for this), or heel raises to reach up high for each game piece.

With a game like Candy Land, I will place the cards across the room and have the child do animal walks to pick each card. Animal walks can include penguin walks (walking on heels), frog jumps (squat jumps), crab walks (hands and feet with stomach facing the ceiling), inch worm (on hands and feet with stomach down, walk hands out first to lengthen body, then walk feet to hands to shorten body), bear walks (walk on hands and feet with stomach facing floor), duck walks (“walking” in squatted position), tip toe quiet like a mouse, or jumping like a bunny.

Kyler Balance Beam

If you are working on an exercise that requires multiple sets of 10, you could have your child perform 10 sets of the exercise (straight leg raises, bridges, hamstring curls, etc.), then they can take their turn with a game, or blowing bubbles, or whatever activity they enjoy doing. Then repeat.

One trick, I mean “idea”, is to not call them exercises. When it’s time for exercising, say, “Let’s play a game!” Or call it something that encourages your child – basketball training, animal tricks, etc. One of my kiddos always says when therapy is over, “Thank you for dancing with me today!” (even though we may not have “danced”). 😉

These ideas should jump start your child’s exercise routine.

What have you done to encourage your child to perform exercises? Share your ideas in the comments below. You never know, your idea may help another parent or therapist!

The purpose of this blog is to provide resources for parents who want to carry over therapy activities with their child at home. The information provided here does not replace therapy or medical care provided by a qualified therapist or medical professional.
These activities are safe for most children. However, some activities or materials may be inadvisable for children who have certain allergies or medical conditions. It is recommended that you consult your child’s medical provider or therapist before engaging in the activities you have selected.